Show a feed with uploaded files
Creating feeds with uploaded files (images and video) is available in our Plus plan only.
The Custom file uploads feature on Instafeed - Instagram feed lets you manually upload images or videos to your feeds, helping you create a more cohesive, brand-aligned feel. Read this guide to learn how to create and manage feeds with uploaded files on Instafeed.
Step 1 - Upload files to Instafeed
-
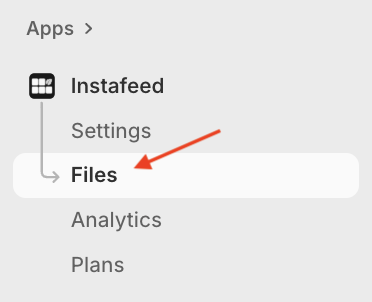
To upload files to show on your feed, go to Instafeed > Files.
-
Under Custom file uploads, drag and drop files into the upload box, or click Add files to select them from your device.

Important note: Make sure files are one of the accepted types:
Images: .jpg, .jpeg, .png, .gif, .webp
Videos: .mp4, .mov, .webm
-
The uploaded files will appear under Uploaded files.
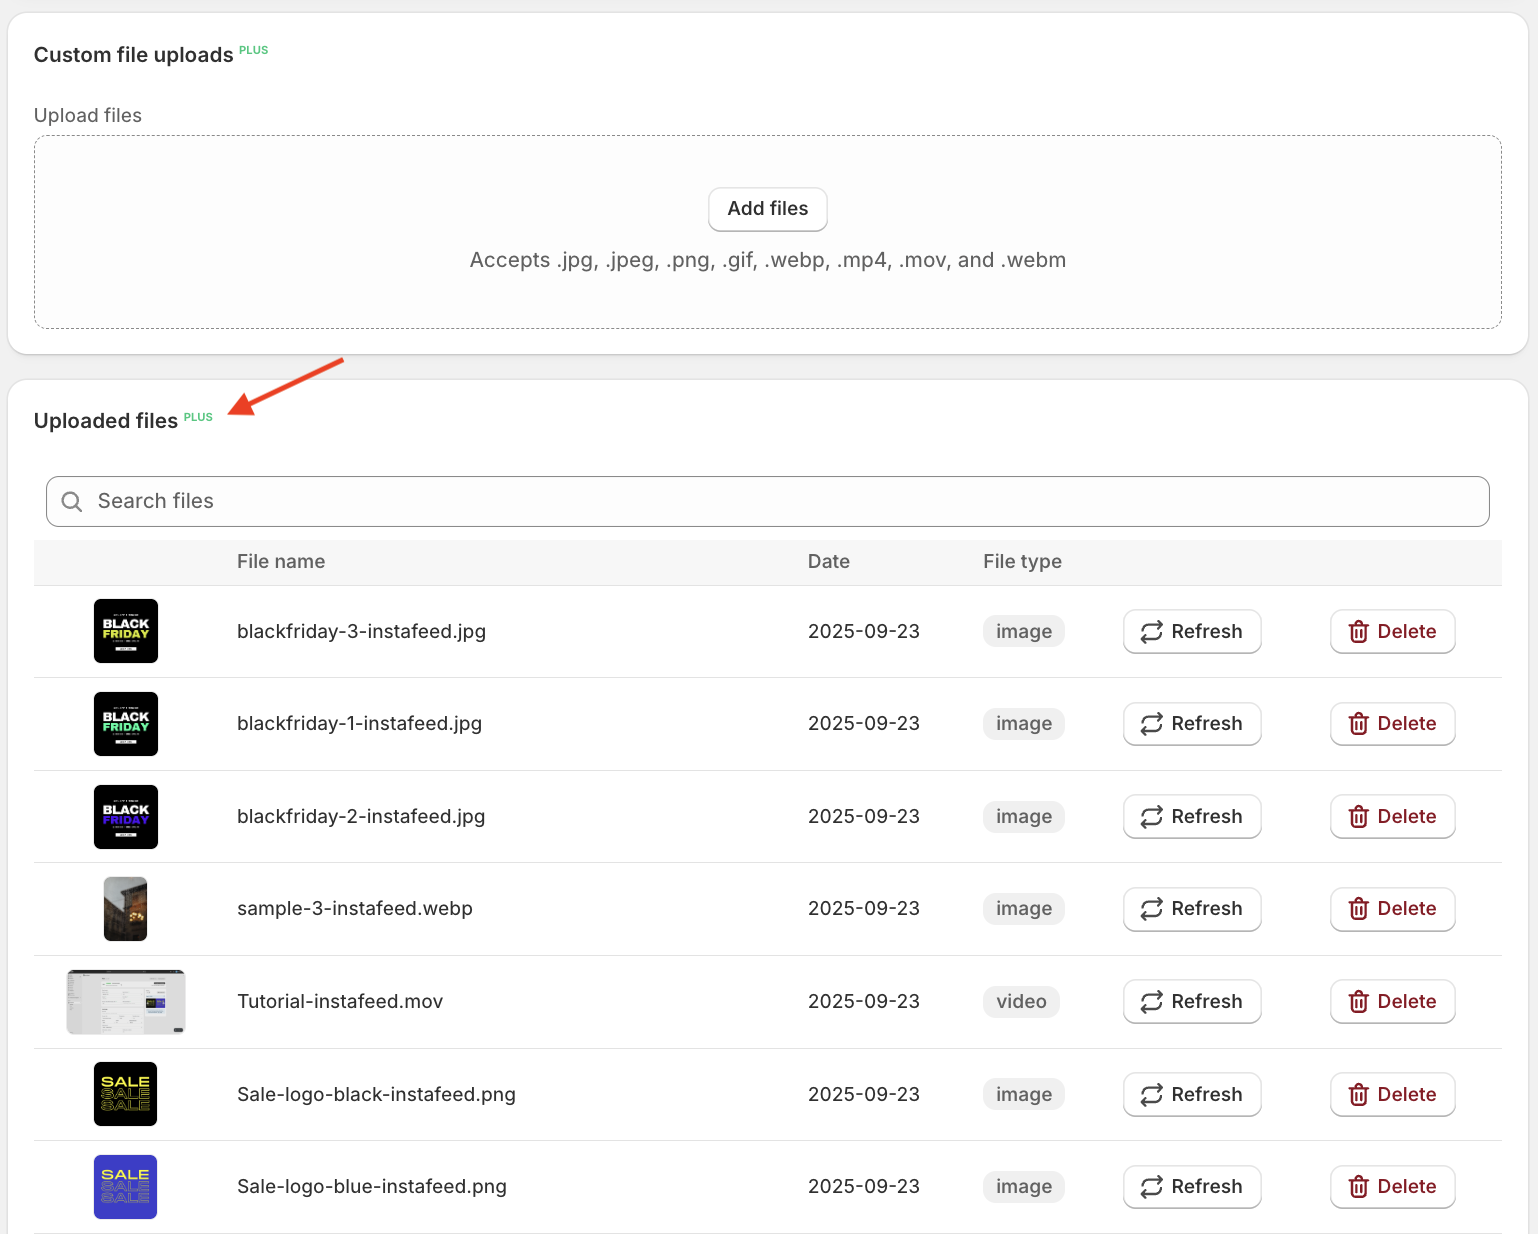
Files uploaded in Instafeed are also automatically added to your Shopify Files (Content > Files).
Step 2 - Create a feed with uploaded files
-
Go to Shopify > Apps > Instafeed.
-
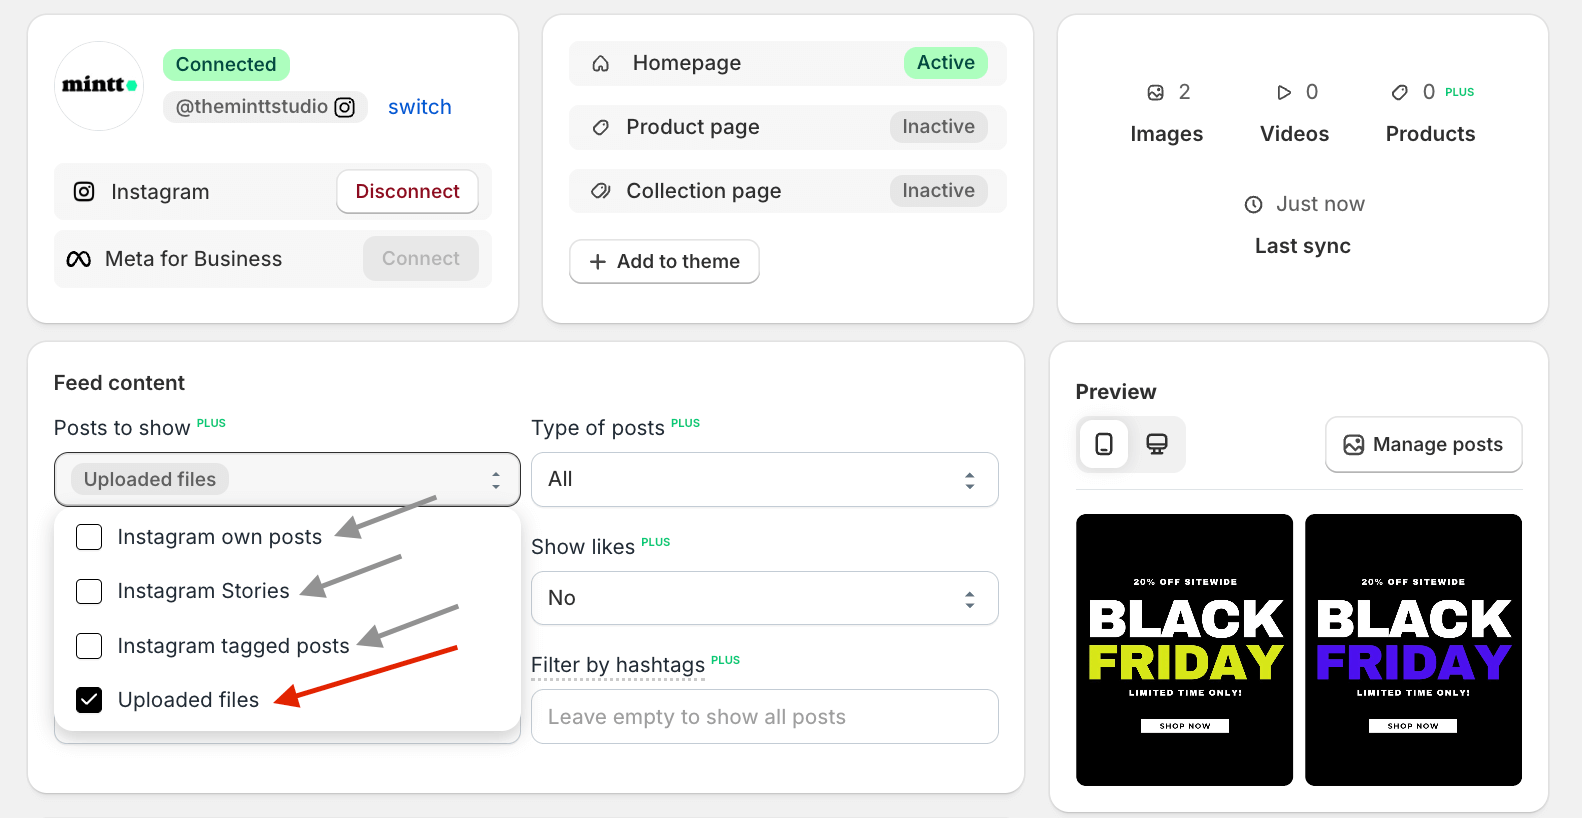
Under Posts to show, select Uploaded files to create a feed with uploaded files only.
To create a feed with uploaded files and Instagram content like your own posts, stories, or tagged posts, simply select the desired options from the dropdown menu.
-
Click Save feed.
How to manage files
You can delete files, change their date, and add captions. In your Shopify admin, go to Apps > Instafeed > Files and follow the steps below.
Delete files
-
To delete a file, click Delete.

⚠️ Deleting files from the Instafeed - Instagram Feed app will also delete files from Shopify Files.
Change date
-
To change the date of a file, click on the file.
-
Select the new date from the calendar.
-
Click Save.
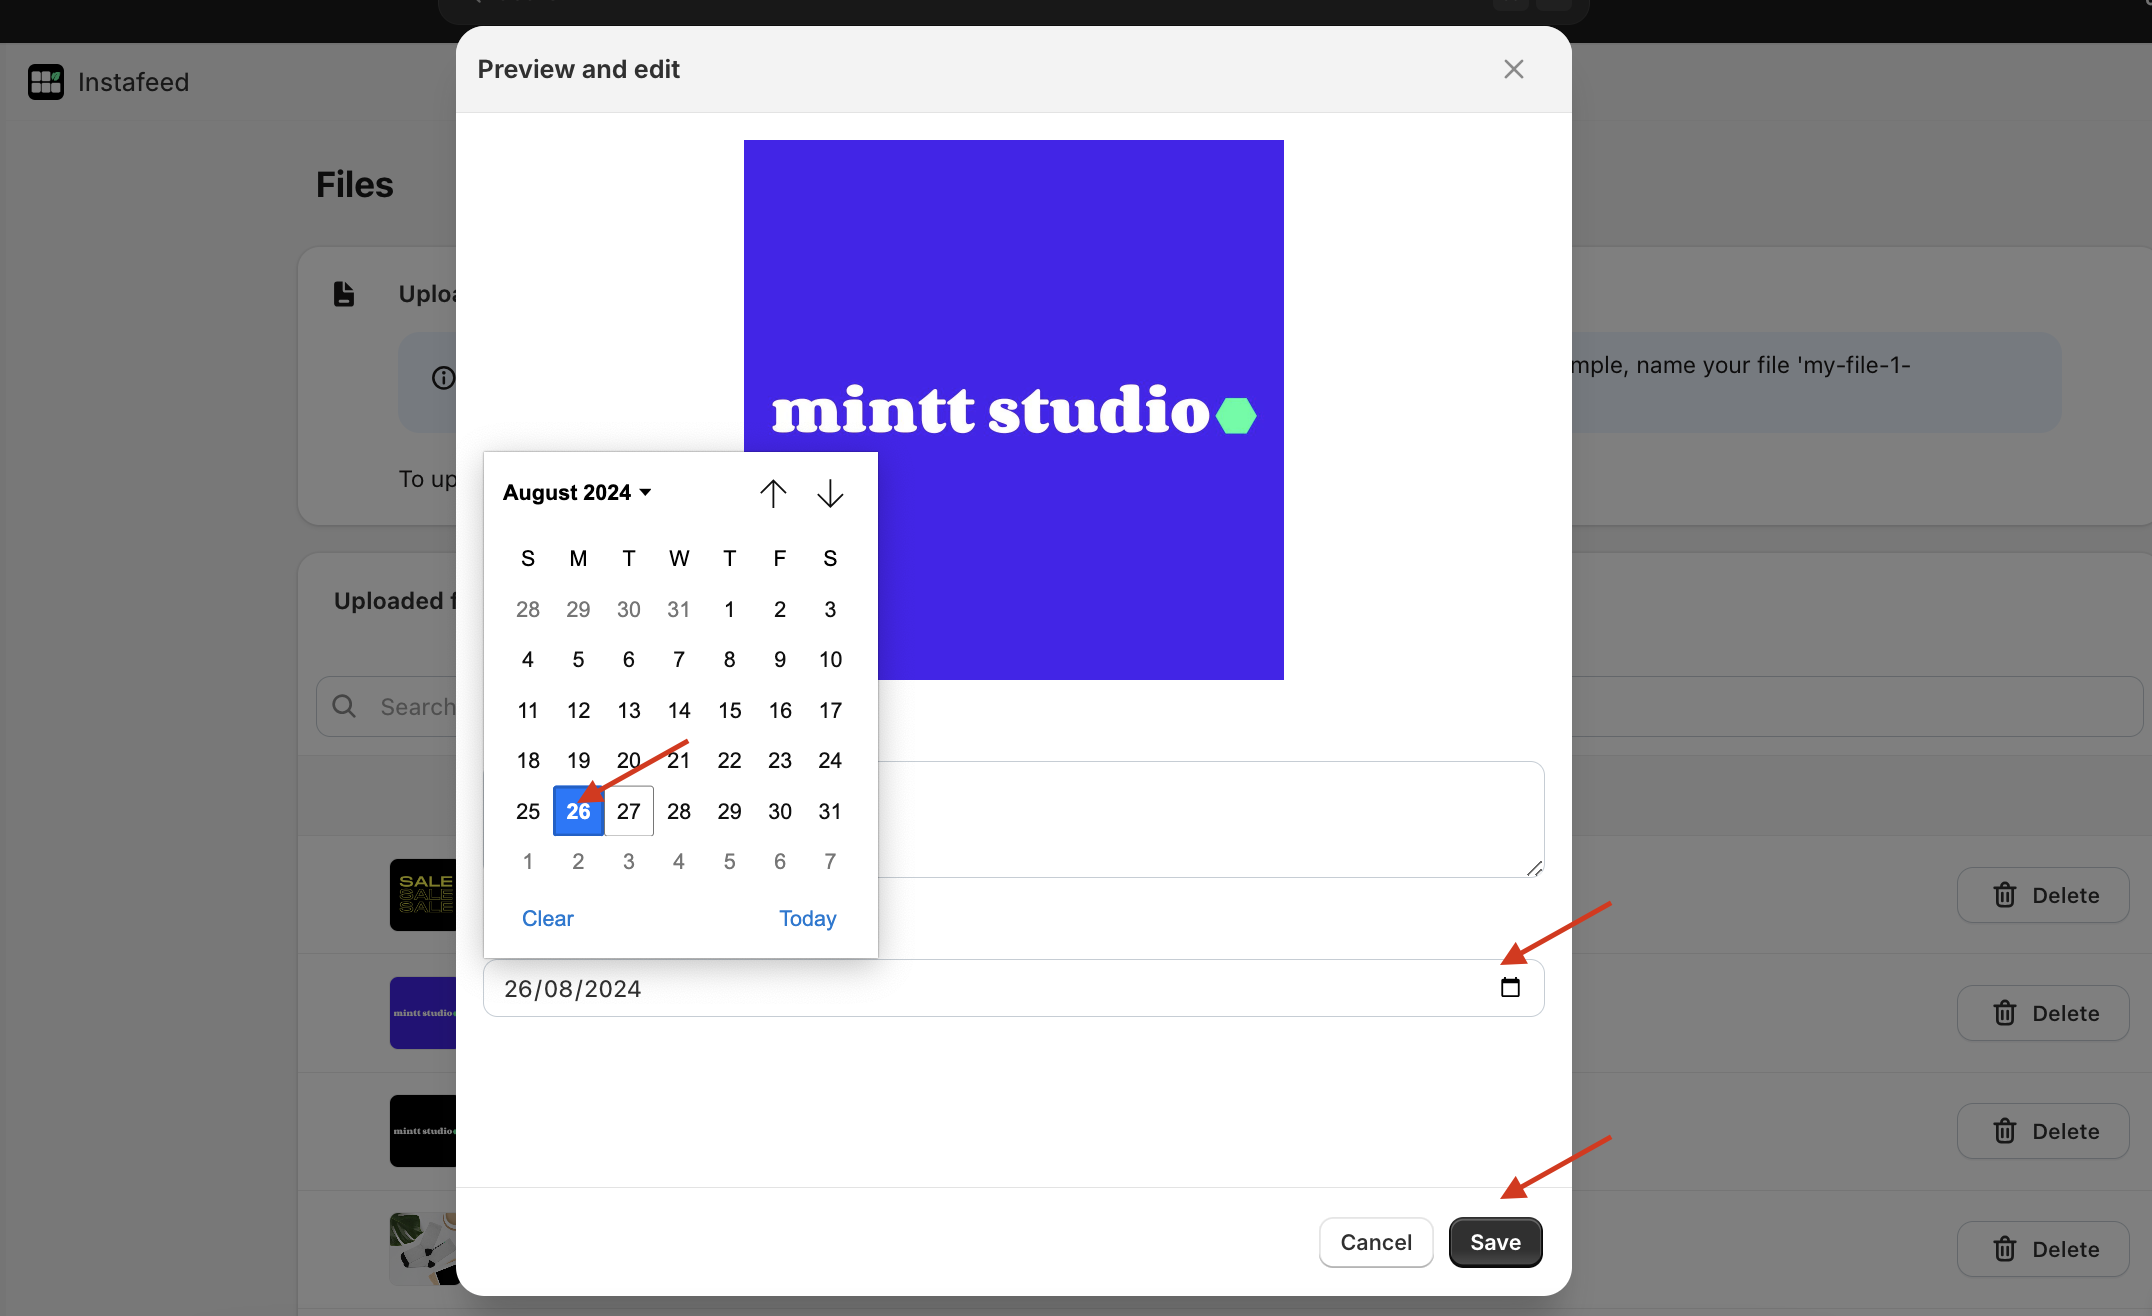
Posts appear on your feed in chronological order. Changing a file's date will change the order in which it appears on your feed.
Add caption
-
To add a caption to a file, click on the file.
-
Write the desired description on the Caption text box.
-
Click Save.
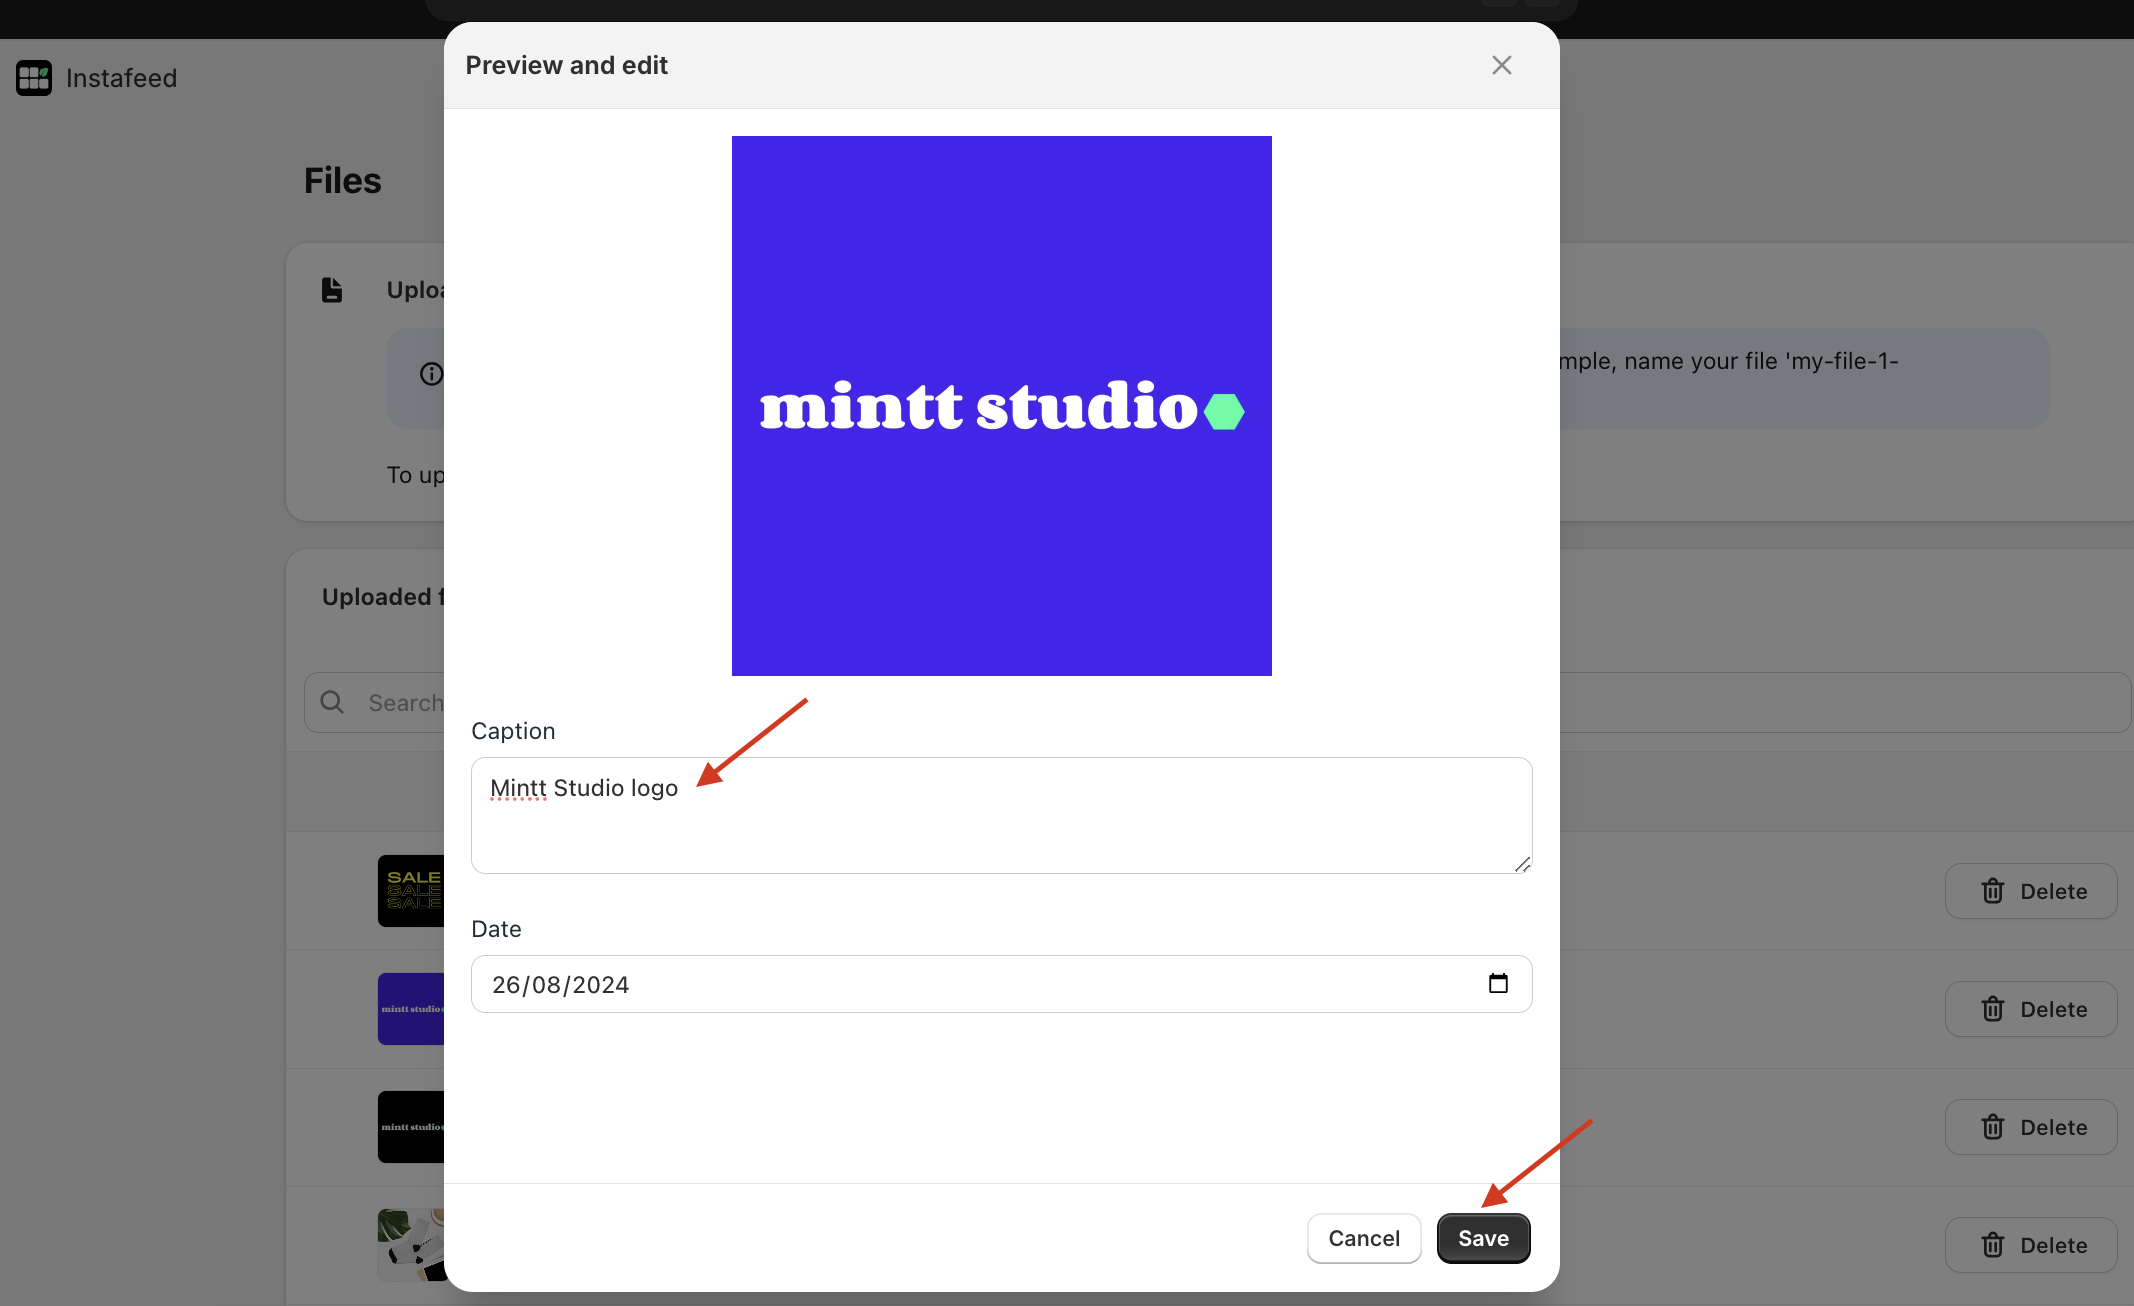
You can include hashtags in each caption, which can then be used with the Filter by hashtags feature.

